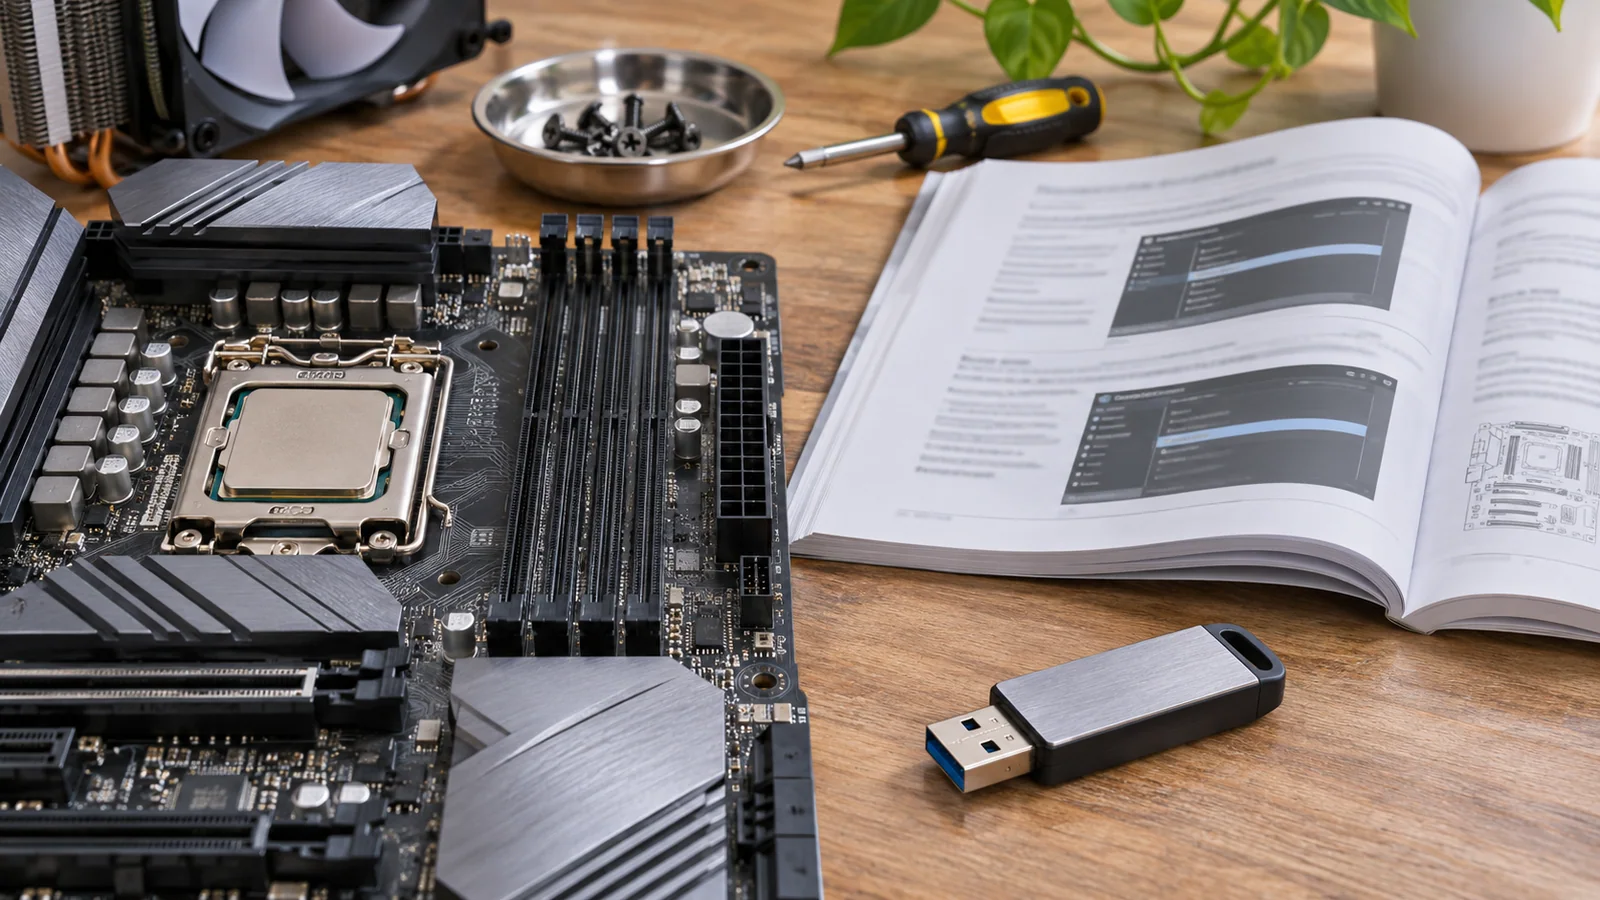
The Windows 11 installer stops at a compatibility screen: this PC doesn’t meet the system requirements. The computer still starts, the installation USB is ready, and the drive is about to be erased. But the blocker is TPM 2.0 or Secure Boot—not necessarily a processor that cannot run Windows.
If you’re looking for how to bypass TPM 2.0 and Secure Boot for a Windows 11 clean install, there is a practical route: create the installer with Rufus and select its option to remove the TPM, Secure Boot, and RAM requirements checks. That bypasses setup checks; it does not add TPM 2.0 or Secure Boot to the computer. It also leaves the PC outside Microsoft’s supported requirements, so check the hardware and back up your files before proceeding.
I reach for the USB drive, then stop. If the PC already has a TPM or Secure Boot capability that is merely disabled, a firmware setting may fix the problem without a bypass. First I need to find out which case this is.
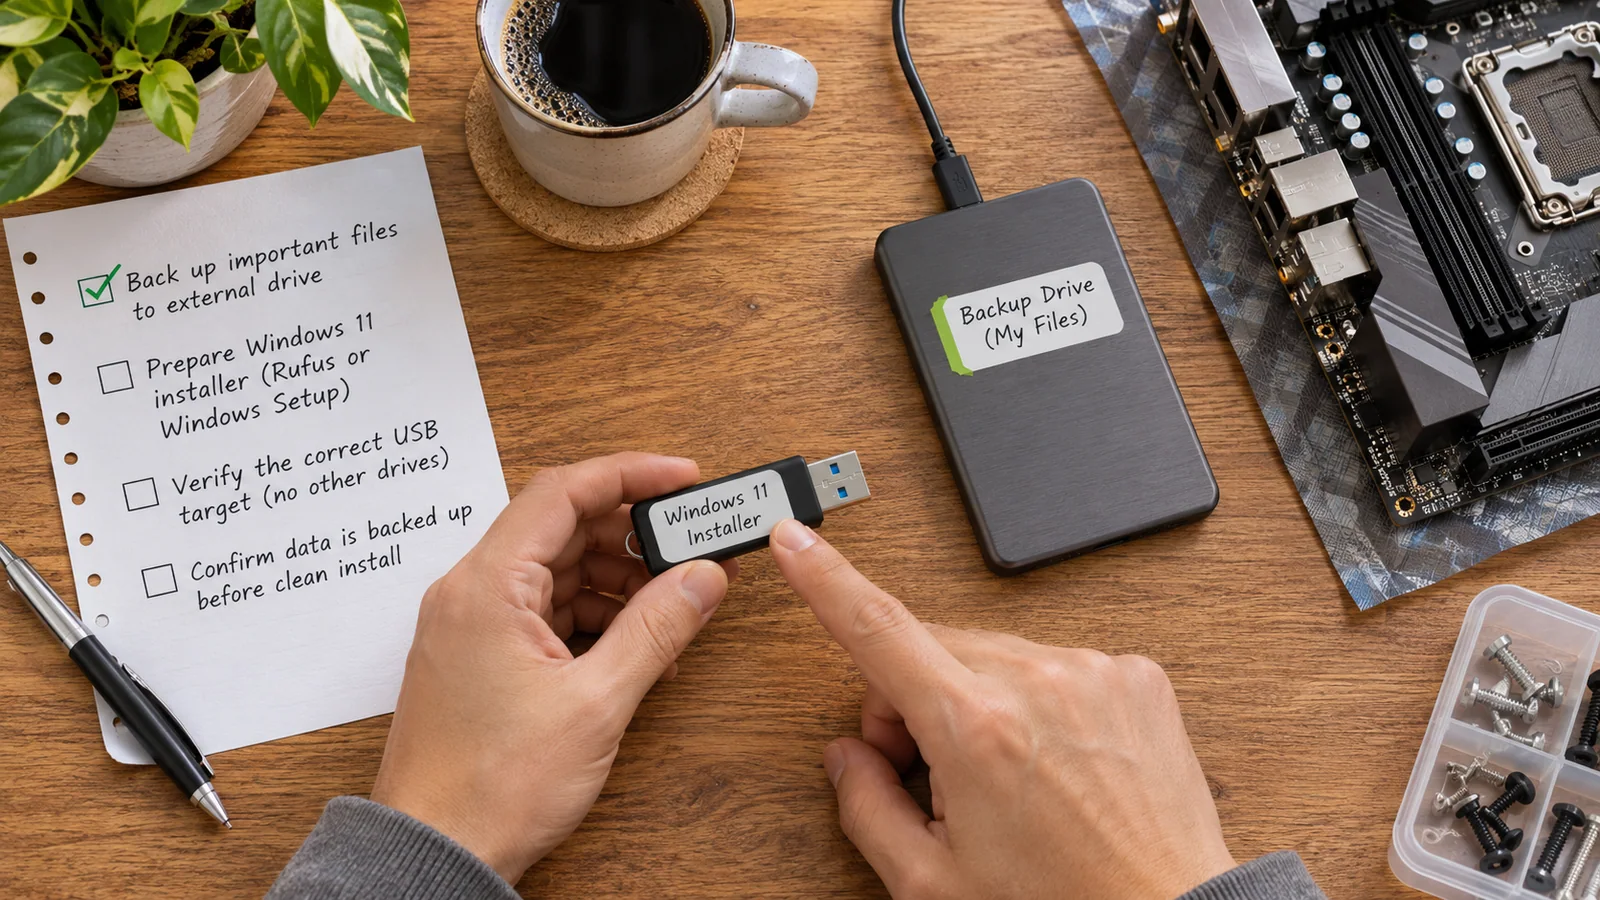
Before you begin: A clean install can erase files and applications on the Windows drive. Back up anything you need, confirm which disk contains that data, and keep the BitLocker recovery key if device encryption or BitLocker is enabled. Do not proceed if you cannot identify the target disk with confidence.
Situation
| Situation | Safer next step |
|---|---|
| TPM or Secure Boot is supported but off | Check the device maker’s instructions and enable it in UEFI |
| Feature is absent or firmware details are unclear | Pause and confirm hardware support before changing firmware |
| Rufus removes setup requirements | This skips checks; it does not guarantee support or updates |
| Files or BitLocker recovery key are not backed up | Delay installation and secure the backup and recovery key |
Check whether the PC really needs a bypass
A message about missing TPM or Secure Boot does not always mean the hardware lacks those features. TPM may be present but disabled in firmware. On some PCs it appears as Intel Platform Trust Technology (PTT) or AMD Firmware TPM (fTPM). Secure Boot may also be off, or the system may be booted in Legacy BIOS mode rather than UEFI mode.
In Windows, press Windows+R, enter tpm.msc, and press Enter. Look for the TPM status and specification version. If Windows reports that a compatible TPM cannot be found, that does not prove one is absent; it may be disabled in the firmware.
To check Secure Boot, press Windows+R, enter msinfo32, and press Enter. In System Information, note BIOS Mode and Secure Boot State:
- BIOS Mode: UEFI and Secure Boot State: On means Secure Boot is active.
- BIOS Mode: UEFI and Secure Boot State: Off means UEFI is running, but Secure Boot is not enabled.
- BIOS Mode: Legacy means Windows started in Legacy mode. Switching firmware to UEFI without checking the disk’s partition style and boot configuration can make the existing Windows installation unbootable.
If Windows still runs, also check whether the system drive uses GPT or MBR. In Disk Management, right-click the disk label (for example, “Disk 0”), choose Properties, open Volumes, and read Partition style. This helps you understand the current boot setup; it does not make changing that setup risk-free.
Check firmware settings carefully
Firmware menus vary by manufacturer, so use the PC or motherboard maker’s instructions for the exact model. Restart into UEFI firmware settings through Windows’ recovery options or the manufacturer’s startup key, then look for settings such as Intel PTT, AMD fTPM, Security Device Support, TPM, or Secure Boot. Names and locations differ.
If you find an available TPM setting, enable it only if you understand the implications for encryption and recovery. Changing TPM or Secure Boot settings can prompt for a BitLocker recovery key on a later startup. Save the key somewhere accessible before changing firmware settings.
If the system uses UEFI and its configuration supports Secure Boot, enabling Secure Boot may be enough to satisfy that check. Do not change Legacy/CSM boot mode to UEFI as a guess. If Windows currently boots in Legacy mode, pause and consult the PC or motherboard documentation about converting the system disk and boot configuration. If the firmware has no TPM option, or the required feature is genuinely unavailable, a setup bypass may be the next choice.
What the bypass does—and what it does not
Rufus, a utility for making bootable USB drives, offers Windows installation-media options that can remove certain Windows 11 setup checks. Depending on the Rufus version and the ISO you select, the options may include removing the requirements for TPM 2.0, Secure Boot, and minimum memory.
The bypass changes how Windows Setup evaluates eligibility. It does not turn on Secure Boot, install a TPM, upgrade an unsupported processor, or make the computer meet Microsoft’s hardware requirements. Windows may install and run, but Microsoft does not support Windows 11 on hardware that fails its requirements. Future updates or compatibility are not guaranteed on unsupported systems.
That distinction matters if the PC handles sensitive work, stores important files, or must meet an organization’s security policies. TPM and Secure Boot contribute to platform security, and the bypass does not replace them. If this is a work-managed computer, check with the IT administrator instead of changing its setup.
Make a Windows 11 USB with Rufus
You need another working Windows PC, a USB drive with at least 8 GB of space, and a Windows 11 ISO. The USB drive will be erased when Rufus writes the installer. Use an official Windows 11 ISO from Microsoft, and download Rufus from its official website. Rufus is a third-party utility, so verify the download source rather than using an unfamiliar mirror.
Back up the USB drive. Copy anything on it to another location. Rufus will remove the existing contents when it creates the installation media.
Download the Windows 11 ISO. Use Microsoft’s Windows 11 download page and save the ISO locally. Match the language and edition you intend to install as closely as practical to your Windows license. A digital license may reactivate automatically after installation if you reinstall the same edition on the same device, but activation is not guaranteed in every situation.
Open Rufus and select the USB drive. Check the device name and capacity before writing. If multiple removable drives are connected, disconnect the ones you do not need. Choosing the wrong device can erase its contents.
Select the ISO. In Rufus, choose the Windows 11 ISO as the boot selection. Confirm that the selected device is the USB drive you intend to erase.
Use the suggested partition scheme unless you have a specific reason not to. Rufus commonly offers a GPT partition scheme for UEFI systems. The correct choice depends on the target PC’s boot mode. If you are unsure, check the computer’s manual and use its UEFI boot support rather than changing the target computer’s firmware at random.
Start writing the drive. Rufus may display a Windows User Experience dialog with requirement-removal choices. Select the option to remove the requirements for TPM 2.0 and Secure Boot if those are the checks blocking installation. You may see other choices, such as removing the memory requirement; do not select unrelated options unless you understand why they are needed. Dialog wording can vary by Rufus release.
Confirm the erase warning. Rufus warns that it will destroy the data on the selected USB drive. Recheck the device name and then confirm only if you have backed it up and selected the right drive. Wait for Rufus to finish and report that the drive is ready.
If Rufus does not show a requirements dialog, check that you selected a Windows 11 ISO and that your Rufus version is current. The available options can vary with the utility’s version and the installation image. Do not assume that a USB is bypass-enabled simply because the write completed; review the choices presented during creation.
Before unplugging the USB: Confirm that you used the intended Windows 11 ISO, selected the correct USB drive, and chose the TPM/Secure Boot requirement-removal option. The USB can be erased during this process, so verify its contents are backed up.
Boot from the USB and install Windows
Connect the installer to the target PC. Open its one-time boot menu using the manufacturer’s documented key, or choose Use a device from Windows recovery options if available. Select the USB entry that begins with UEFI when the PC supports UEFI. Do not change the firmware boot mode just to make a USB appear; check the model’s instructions if it is missing.
When Windows Setup starts, choose the language and keyboard settings, then proceed to installation. If prompted for a product key, enter it if you have one. You may also be able to choose I don’t have a product key and select the edition that matches the device’s license. Do not choose a different edition on the assumption that it will activate later.
Choose Custom: Install Windows only (advanced) for a clean install. Setup then shows the available disks and partitions. This is the point where a wrong click can erase the wrong data.
Stop at the disk screen if anything is unclear
If you intend to remove the existing Windows installation, identify its disk by capacity and partition layout, not merely by a disk number. Disk numbers and drive letters can differ between Windows and Setup. Deleting or formatting partitions destroys data on those partitions.
- If the target is a new or intentionally erased drive, select the correct unallocated space and continue.
- If the disk contains files you still need, stop. Cancel the installation and back up those files first.
- If several drives are connected, shut down and disconnect non-target drives only if you can do so safely and know how to reconnect them. This reduces the chance of selecting the wrong disk.
- If the setup screen does not make the target clear, do not guess. Get help identifying the drive before deleting or formatting anything.
Once you have selected the correct destination, follow Setup’s prompts. The PC will restart during installation. If it returns to the Windows Setup start screen, remove the USB or use the boot menu to start from the internal drive; otherwise, it may boot the installer again.
If the install still refuses to continue
A bypass for TPM and Secure Boot only addresses those requirement checks. It does not fix every compatibility problem.
If Setup still reports that the PC is unsupported, write down the exact message and check whether Rufus’s requirement-removal option was selected when the USB was created. Recreate the installer from the official ISO if needed, carefully confirming the selection. Avoid registry workarounds copied from random videos or forum posts; Rufus’s documented media-creation choices are the clearer route for this installation task.
If the PC does not boot from the USB, verify that the drive appears in the one-time boot menu and that you selected the correct boot entry. Check the manufacturer’s instructions for USB boot support. Do not switch Legacy and UEFI settings back and forth without understanding how the target disk and installer are configured.
If the install completes but Windows does not start, stop before making more firmware changes. Note any error shown, return to the documented boot settings, and check that the internal drive is selected. If encryption is involved, have the recovery key ready. A technician or the device manufacturer may be able to help if the drive layout, boot mode, or encryption state is unclear.
After Windows starts
Open Settings > System > About and confirm that the installed edition is the one you intended. Check Settings > Windows Update and install applicable updates, then get device drivers from Windows Update or the PC manufacturer’s support page. Driver availability does not change the fact that the PC may be unsupported under Windows 11’s hardware requirements.
Recheck tpm.msc and msinfo32 if you want to see the security state. A successful bypass install does not mean TPM 2.0 or Secure Boot is now active. If the firmware offers these features, you can investigate enabling them later, but first save the BitLocker recovery key and follow the manufacturer’s directions. Do not toggle settings without a recovery plan.
For a primary work or family computer, consider whether the unsupported configuration is acceptable before moving important data back. If reliability, security policy, or future update support is essential, the safer option is hardware that meets Windows 11’s requirements—or an operating system still supported on the existing PC.
Common questions
Does Rufus bypass TPM 2.0 and Secure Boot during a clean install?
Rufus can create Windows 11 installation media with options that remove those setup requirement checks. The exact choices depend on the Rufus version and selected image. The bypass does not enable or add the underlying security features.
Can I use this method if my PC has no TPM at all?
The installer may proceed if the applicable TPM check is removed, but the PC remains without that hardware or firmware security feature. Windows 11 on unsupported hardware is outside Microsoft’s supported requirements. Consider the security and support trade-offs before installing.
Will Windows 11 updates work afterward?
Do not count on a guarantee. Microsoft warns that unsupported hardware may not be eligible for updates, including security updates, and compatibility is not assured. A successful installation does not change that support status.
Will a clean install erase my files?
It can. Choosing or deleting partitions in Setup can erase the data stored on them. Back up the files first, and stop at the disk screen if you cannot identify the correct installation target.
The USB can get past the gate, but it cannot change what is on the other side: before installing, make sure the trade-off is one you can live with.
At a glance
First check whether TPM and Secure Boot are disabled or unavailable.
A bypass skips setup checks; it does not make unsupported hardware supported.