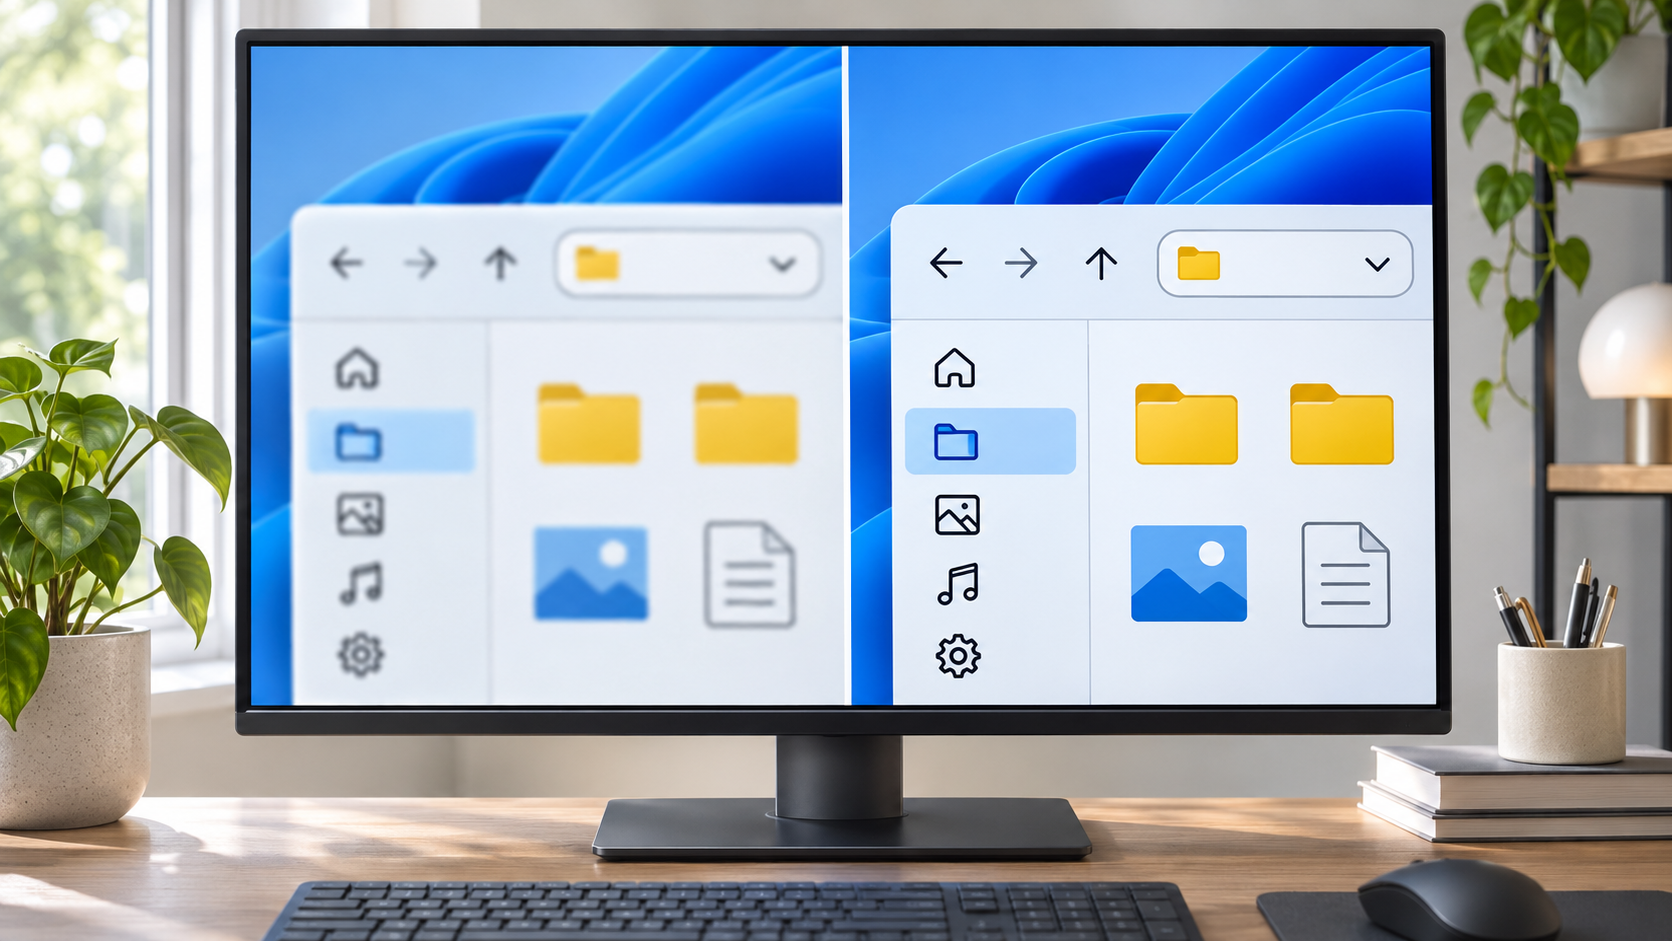
1. The meeting started in twelve minutes, and every number looked suspicious
The last slide was open, the meeting link was already blinking, and the tiny figures in a spreadsheet seemed to have grown soft edges. The title looked almost readable, but a 3 could pass for an 8 if I glanced too quickly. I leaned closer, moved the window, and rubbed my eyes. Nothing changed. Across the desk, a coworker glanced over and said, “That monitor is dying. Turn the resolution down and make everything bigger.”
 I followed the quickest suggestion. The desktop icons grew, but the letters became even less convincing. The meeting clock kept shrinking the time I had left, and the more settings I changed, the less certain I was about what had caused the blur in the first place.
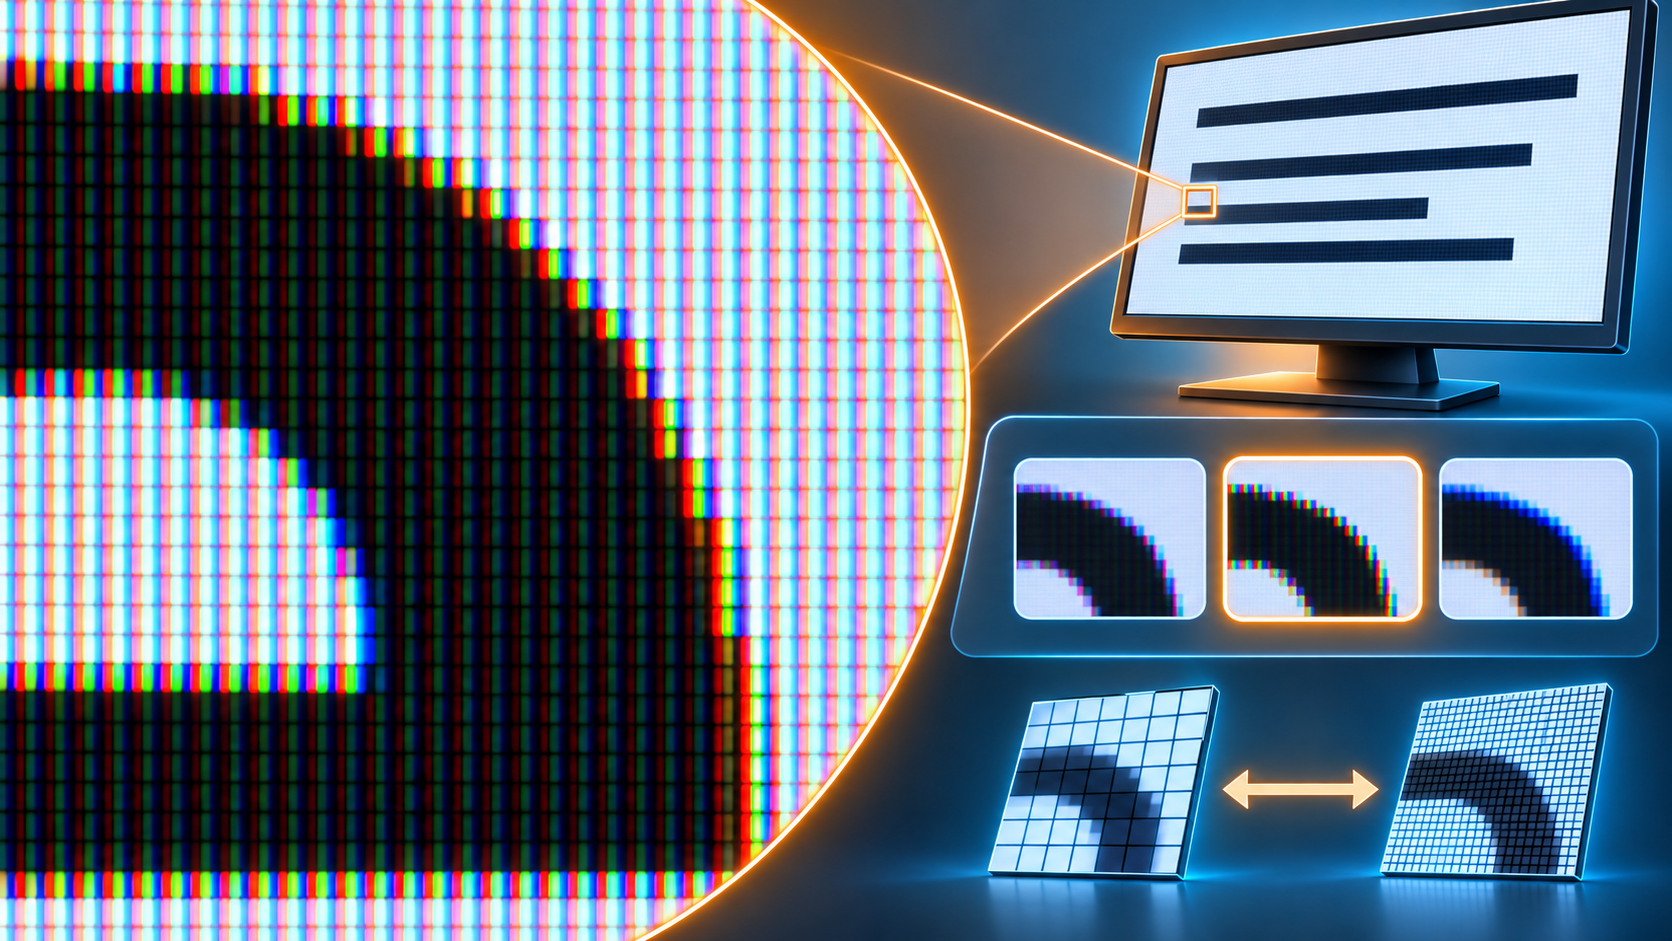
That distinction matters. ClearType adjusts how Windows renders the edges of text on supported displays. It does not sharpen every image, repair a monitor, or correct every app’s scaling behavior. If photos, icons, and text all look soft, changing ClearType first may send the troubleshooting in the wrong direction. If one older app looks fuzzy while the rest of Windows is crisp, its display scaling may be the more useful clue.
So I stopped changing settings at random and split the problem into three questions: Is the whole display soft, are only letters hard to read, or is the problem limited to one application? The answer decides which control is worth touching.
2. The reversal: ClearType was not the first setting to blame
At first, the symptom looked exactly like a font-rendering issue. The text had a faint haze, especially around small labels, so the obvious guess was that ClearType had been switched off. But the desktop wallpaper and icons also looked slightly soft. That was a warning that the problem might be broader than text.
The display settings showed the clue. After the laptop had been reconnected to an external monitor, Windows was using a resolution below the value marked “Recommended” for that screen. Lowering resolution can make interface elements appear larger, but a non-native resolution may look less sharp because the monitor has to scale the image to its physical pixels. The proposed quick fix had made the symptom more visible instead of curing it.
The coworker leaned in again. “So ClearType did nothing?” Not quite. It could still improve text after the display was back at its proper resolution. The order mattered: first restore the display’s recommended resolution, then compare scale settings, and only then tune the letter edges. That small change turned a vague “bad monitor” scare into a set of checks with clear boundaries.
Use the pattern below to choose a first step rather than changing every control at once.
| What looks blurry | Check first | Useful next step |
|---|---|---|
| Text, icons, and photos | Selected display and recommended resolution | Restore the recommended resolution, then reassess |
| Text in one app only | App zoom and Windows scaling | Close and reopen the app after checking its zoom |
| Letter edges across Windows | ClearType text samples | Run the ClearType text adjustment for the affected display |
| Photos but not text | Image quality, app zoom, or monitor focus | Leave ClearType alone and inspect the image or display path |
3. A careful Windows 11 check, one setting at a time
1. Select the display that is actually blurry. Press Windows key + I, then open System > Display. If more than one screen is connected, select the monitor with the problem before changing anything. Windows can apply different resolution and scaling choices to different screens, so checking the laptop panel while the external monitor is selected would not answer the right question.
2. Restore the recommended resolution. Under Display resolution, choose the option marked Recommended for the selected screen. Avoid picking a lower number just to enlarge text; use the scale or text-size controls for readability. Microsoft’s Windows resolution and layout guide explains where to find the resolution and scale controls and notes that a lower-than-native resolution may make text less sharp. If Windows does not offer the expected resolution, check that the correct monitor is selected and that its cable or dock is connected normally before assuming the display is defective.
3. Separate scale from text size. In System > Display, look at Scale and start with the value Windows marks as recommended. Scale enlarges the overall interface—text, icons, and apps. If the icons already look right and only Windows text needs to be larger, Settings > Accessibility > Text size changes text size more directly. The two controls affect different things, so changing both together makes it harder to tell which adjustment helped. On some apps, you may need to close and reopen the window before the new scale is reflected.
4. Tune ClearType only after the display basics are right. Open Start and type ClearType, then choose Adjust ClearType text if it appears. Follow the sample screens and choose the text that looks clearest to you. If Windows asks which displays to tune, include the affected monitor; do not assume a choice made for one screen will look identical on another panel. The sample choices are a preference adjustment, not a repair for a wrong resolution or a blurry photo.
5. If one app is still fuzzy, narrow the scope. Quit the app fully and reopen it. Check its own zoom level and whether the blur appeared after docking, undocking, or changing display scale. Some programs handle display scaling differently from Windows itself. If the change followed a monitor connection or a scaling change, signing out and back in may help some apps redraw at the new size. Do not edit registry values or disable display protections as a first response to one soft-looking window.
Keep the comparison simple: use the same app, the same paragraph, and the same zoom level before and after each adjustment. If you change resolution, scale, ClearType, and app zoom at once, even a sharper result will not tell you which setting mattered. Change one control, pause long enough for the screen to redraw, and look at the same small text. If it is still unclear, return to the previous setting before trying the next control. This is not a laboratory measurement; it is a way to avoid piling unrelated changes on top of one another.
Also check whether the complaint is about sharpness or size. Text can be perfectly sharp and still feel too small, especially on a high-resolution laptop screen. In that case, Windows text size or display scale is a better direction than lowering resolution. Conversely, if text looks large but smeared, enlarging it again may only make the smear more obvious. The distinction sounds small, but it prevents a common detour: changing the size of everything when the actual problem is that the display is resampling its image.
If the whole screen still looks soft at its recommended resolution, test the monitor’s own sharpness or focus controls only as described in its manual, reseat the video cable, and check whether another cable or port changes the symptom. If only one image is fuzzy, inspect the source image and the zoom level instead of repeatedly retuning text. A single symptom can have different causes, and the safest next step is the one that changes only the setting connected to that symptom.
4. ClearType and blurry text: quick answers
Does turning ClearType on fix every blurry screen?
No. ClearType affects text rendering. It does not correct a non-recommended display resolution, app-specific scaling, a soft source image, a loose video connection, or a monitor-focus problem.
Which resolution should I use in Windows 11?
In Settings > System > Display > Display resolution, begin with the value marked Recommended for the selected monitor. If that choice is missing, confirm the screen and its connection before changing other settings.
Why is text blurry in only one program?
That points toward the app’s zoom or scaling behavior rather than a display-wide ClearType setting. Close and reopen the app, check its zoom, and consider whether the problem started after connecting a monitor or changing scale.
Should I lower the resolution to make text larger?
Usually, that is not the best first step. A lower-than-native resolution can make the display look softer. Keep the recommended resolution and use Windows scale or text-size controls to make content easier to read.
At a glance
First identify whether blur affects the whole display, text only, or one app.
Restore the recommended resolution, then adjust scale and ClearType separately.